Imagine biting into a warm, pillowy cloud of bread, brushed with rich, melted butter, with just the right amount of chew and a subtle tangy note. That's the magic of homemade naan, and contrary to popular belief, it's incredibly simple to achieve right in your own kitchen, no tandoor oven required! If you've been intimidated by the idea of making bread from scratch, prepare to have your mind changed. This guide will walk you through creating a simple yeasted homemade naan a step by step guide that is so soft, so fluffy, and so utterly delicious, you'll never reach for store-bought again.
Why Homemade Naan? The Irresistible Difference
There's a reason why freshly baked bread holds a special place in our hearts and kitchens. Homemade naan is a revelation, far superior to any store-bought version you'll find. While commercial naan can often be dry, stiff, or lacking in authentic flavor, a batch made from scratch offers a delightful combination of tenderness, chewiness, and a subtle richness that is truly unparalleled. Once you experience the warmth, the aroma, and the sheer satisfaction of pulling a golden, puffed naan from your skillet, you'll understand why it’s worth every minute of your time.
What makes it so special? It's not just the freshness; it's the quality of the ingredients and the minimal processing. Plus, knowing exactly what goes into your food brings a certain peace of mind. This recipe for Easy No-Knead Naan: Soft & Chewy Homemade Flatbread with Yogurt truly showcases how effortless it can be to elevate your meals. Naan isn't just for Indian curries; it's a versatile flatbread perfect for wraps, dipping into hummus, scooping up stews, or even as a base for quick pizzas. Its ability to pair with a wide array of cuisines, from Mediterranean to Middle Eastern, makes it an essential skill for any home cook.
The Secret to Perfect Naan: Simple Ingredients, Big Flavor
You might be surprised to learn that the most outstanding naan often comes from the simplest ingredients. After experimenting with numerous recipes over the years, many home cooks, myself included, have found that focusing on just five core components yields the most authentic and delicious results. Forget complicated additions like oil, eggs, baking powder, or baking soda – they are simply not necessary for achieving that signature fluffy texture and rich flavor.
The magic truly lies in these five:
- All-purpose flour: The backbone of our dough.
- Instant yeast: The leavening agent that gives our naan its beautiful puff and softness.
- Kosher salt: Essential for flavor balance.
- Greek yogurt: This is the game-changer! Greek yogurt is imperative for imparting a subtle tang, incredible tenderness, and a lovely chewy texture. Its higher fat and protein content contribute significantly to the dough's richness and pliability.
- Boiling water: Not just any water! The heat helps to activate the yeast quickly and creates a more relaxed, pliable dough, reducing the need for extensive kneading.
The inclusion of Greek yogurt cannot be overstated. It's the key to the dough's incredible softness and elasticity, allowing it to stretch and puff beautifully on the skillet. Its gentle acidity also contributes to the distinctive flavor profile of traditional naan.
Your Step-by-Step Guide to Fluffy, Buttery Stovetop Naan
Ready to transform a few basic ingredients into a culinary masterpiece? This simple yeasted homemade naan a step by step guide makes the process approachable and fun.
Gathering Your Ingredients
Before you begin, ensure you have:
- 2 cups (about 240g) all-purpose flour
- 1 teaspoon instant yeast
- 1 teaspoon kosher salt
- ½ cup Greek yogurt (full-fat is recommended for best results)
- ½ cup + 2 tablespoons boiling water
- Melted butter (for brushing)
- Optional: minced garlic, fresh cilantro for garlic-herb butter
Mixing the Dough
The beauty of this recipe is its no-knead nature!
- In a large mixing bowl, combine the dry ingredients: flour, instant yeast, and kosher salt. Whisk them together thoroughly to ensure the yeast and salt are evenly distributed.
- In a separate medium bowl or a heat-proof measuring cup, whisk together the Greek yogurt and the boiling water. The hot water will thin the yogurt and create a warm liquid ideal for activating the yeast.
- Pour the liquid mixture into the dry ingredients. Using a sturdy spatula or a wooden spoon, stir vigorously until the ingredients just come together and form a shaggy ball.
- At this point, the mixture will likely be too stiff for the spatula. Lightly flour your hands and knead the dough directly in the bowl for about one minute. The goal isn't to develop gluten through intense kneading, but simply to bring the dough together into a cohesive, sticky ball, ensuring all the flour is incorporated. The dough will be soft and somewhat wet – this is exactly what you want for tender naan.
The Rise: Patience Pays Off
This is where the yeast does its magic.
- Cover the bowl tightly with plastic wrap or a clean kitchen towel.
- Place the bowl in a warm spot for about 1 hour and 15 minutes, or until the dough looks visibly puffed and has increased slightly in volume. A good warm spot can be a sunny windowsill, near a warm oven, or even in your oven with just the light on (do not turn on the heat!).
Pro Tip: The dough won't double in size like a traditional bread loaf; it will simply appear noticeably lighter and somewhat aerated.
Portioning and Rolling
Time to shape your naan!
- Lightly flour your work surface. Gently turn the risen dough out onto the floured surface. Avoid deflating it too much.
- Divide the dough into four equal portions. You can use a kitchen scale for precision, or simply eyeball it.
- Take each portion and gently shape it into a smooth ball. Let these dough balls rest for 5 minutes; this allows the gluten to relax, making them easier to roll.
- Working with one ball at a time, use a rolling pin to roll each into an 8- or 9-inch round. Aim for a thickness of about ¼ inch. Don't worry if they aren't perfectly round; rustic shapes are charming! If the dough springs back, let it rest for another minute or two before continuing.
Cooking Naan on the Stovetop
This is where the naan comes to life in under 2 minutes per piece!
- Heat a heavy-bottomed skillet, preferably cast iron, over high heat until it is very, very hot. You should see a wisp of smoke or feel intense heat radiating from it. This high heat is crucial for achieving that characteristic puff and lightly charred spots.
- Carefully place one rolled naan round into the hot, dry skillet.
- Immediately cover the skillet with a lid. Cook for 1 minute. The steam created by the lid will help the naan puff up beautifully.
- Uncover, flip the naan, and cook for another 30 seconds to 1 minute, or until you see golden-brown spots and the naan is cooked through.
- Transfer the cooked naan to a plate or platter.
The Finishing Touch: Butter!
This step is non-negotiable for truly irresistible naan.
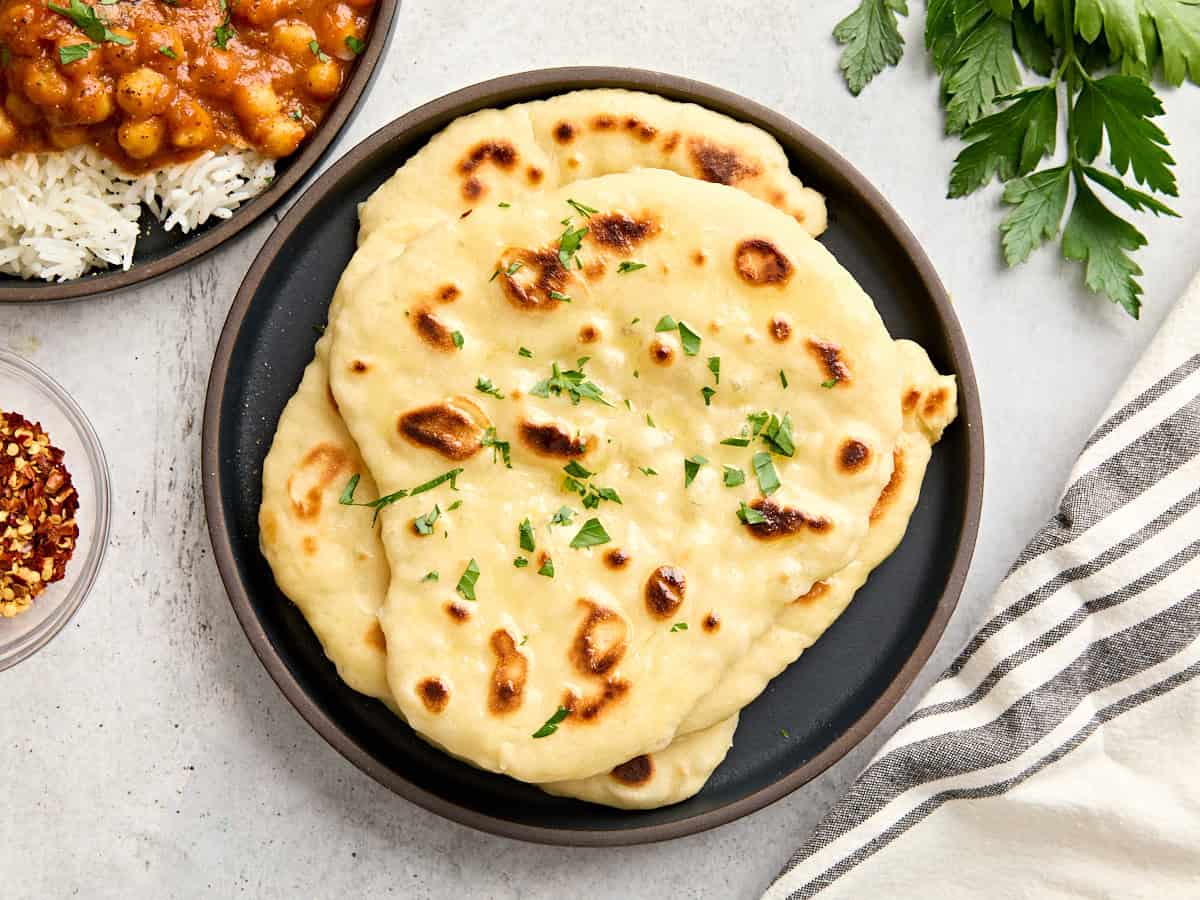
- Immediately brush the hot naan generously with melted butter. The hot surface will absorb the butter, infusing it with flavor and keeping it moist.
- Stack the buttered naan on the plate and cover them with a clean kitchen towel. This helps keep them warm and soft while you cook the remaining pieces.
Repeat steps 11-17 with the remaining dough portions. Before you know it, you'll have a stack of warm, fluffy, and buttery homemade naan ready to devour!
Tips for Naan Perfection & Serving Suggestions
- Don't skimp on heat: A blazing hot skillet is key for rapid cooking and getting those lovely air pockets and charred spots. If your skillet isn't hot enough, the naan will cook too slowly and dry out.
- Embrace the stickiness: The dough is meant to be soft and slightly sticky. Resist the urge to add too much flour during mixing, as this will result in a tough naan. A little flour on your hands and work surface during portioning and rolling is fine.
- Creative Butter: Elevate your naan even further by infusing your melted butter with minced garlic, chopped fresh cilantro, or a sprinkle of dried herbs.
- Serving Versatility: While perfect with traditional curries like Chicken Tikka Masala or Lamb Rogan Josh, don't limit yourself! Naan makes fantastic wraps for grilled chicken or vegetables, a superb dipper for hummus or baba ghanoush, or even a delightful accompaniment to hearty soups and stews. For more inspiration on how to use your fantastic homemade creation, check out Skip Store-Bought: Make Superior Homemade Naan in Under 2 Mins.
- Storage: Store leftover naan in an airtight container or zip-top bag at room temperature for up to 2-3 days. For longer storage, freeze them for up to a month.
- Reheating: To reheat, sprinkle with a few drops of water, wrap in foil, and warm in a preheated oven (350°F/175°C) for a few minutes, or briefly warm in a dry skillet.
Making your own naan is an incredibly rewarding experience that brings a taste of authentic Indian cuisine right to your dining table. This simple yeasted homemade naan a step by step guide proves that a truly delicious, fluffy, and buttery flatbread is well within the reach of any home cook. With just a few basic ingredients and a hot skillet, you can create a side dish that will undoubtedly impress your family and friends. So, roll up your sleeves, gather your ingredients, and prepare to be amazed by the deliciousness that awaits!
